štvrtok 27. októbra 2011

Preparing for Halloween part 1

Hello my dearies! ^^
As you probably know Halloween is comming really fast! It's one om my favourite holidays, although it's not celebrated here very much, but it's getting more popular from year to year. This year I'm not going to dress up in any costume, because there's going to be Halloween meet up with my lovely lolitas ^^ I'm looking forward to it and my outfit is already prepared...except accessories! Our dress code is in gothic style with black, red and orange colours. I decided  to make it more monster/zombie/whatever themed to fit up more with halloween spirit. I was thinking a lot about it, browsing the internet and what I found was absolutely creepy, cute, funny and "shoddy" at once! Thing I'm talking about is called "sugar skull". I found some info here if you want to know more about meaning and the tradition from Mexico.
Now to our little Halloween project! First thing I'm going to show you is how to make those cute sugar skull brooches! I love them to death! xD Left one is Flora and the right one is Prescilla. In the middle is Lisa. Nice to meet you!

What I used:
  • black and white felt 
  • thin filling 
  • threads in many colours
  • scissors 
  • pins and needles 
  • acrylic paint and brush (if you don't have as many colour as you want)
  • pen and paper for sketch

Here we go!


First, make some sketches. It's always very useful. This one I used also as a pattern. 


Cut it out and fold in halves. This way you can shape both sides, same way, at once.


Take your color pens and creativity and make some drafts!


Here is mine!


Redraw pattern on the felt twice.


Since on black felt won't be seenable any marker we need to make it other way! Cut the "eye" part and the "nose" part out.


Pin it on the felt and cut it around


I don't have many colours, but the main thing:


the PINK thread is missing! That's horrible! I needed to improvise...


I mixed red and white acrylic colour and painted with outcome pink thicker thread.


Here is it! It was somehow my experiment, but result was quite ok! ^^


With this pink thread I sewed on Prescilla's eyes.


Than nose and mouth...


...and in the end some deco embroidery!


Floras head's backside - so many tiny details! xO


Now we need to cut out the filling. I did it as by eyes and nose - pin it on the filling and cut around.


Done! Let's sew it!


I sew back and front sides together and we're finished! ^^

I hope you like this little halloween project and make sure to check the next part with eyeball bows! 

sobota 15. októbra 2011

Nostalgic Cuteness pt3.

Hello there! ^^ 
Today I'm going to show you again, what to do with old nice things, which you just can't throw away. This time I used old Barbie shoes! I found some old Barbie stuff this summer at my grandmother's place and I thought it could be nice to make some accessories from it.
When I was a little girl I loved to play with Barbie dolls, even my mother called me Barbie! It was so fun dressing them up, decorating their huge pink Barbie house, brushing their hair and playing with them funny stories.
But to our crafting...


...here are those pretties! They are so cute! They have also inside written, which one is left and which is right! I never noticed that!


I took some ribbons, tiny fimo sweets and pins for earrings, and I started crafting!


First pair of earrings will be with two different shoes, tiny cherries and  a cake.


You can also stick some decoration on the shoes, but I let them plain this time.


Take two short pieces of ribbons,


make them into bows,


and stick shoes and cherries with cake on them.


Voilá! Earrings are done! It's so simple! Now to the second pair.


As by first pair I made two bows. This time I've choosen pink dotted ribbons.


All I did was just stick shoes and bows together. Simple as piece of cake, and it works great!

Here are worn:


Thank you for reading! <3

streda 12. októbra 2011

DIY ~> Tissue Pocket

Hello my dearies!
Weather is gettinng worse every day, so I was thinking about most used things in this season. First thing I came with were tissues! I'm  sick quite often, so for me are tissues very important! SO...


How to replace a boring plastic tissue package...


... for a cuter one!


First, we need to prepare:
  • One package of tissues
  • felt
  • scissors
  • thread in felt colour 
  • pins and needles
  • pen 
  • decoration stuff (bows, ribbons, lace, pearls etc.)
  • glue gun
  • buttons or velcro

You need to measure how much of felt you will need. 


You have to roll inside whole package, plus few mm's more for sewing.

Cut, cut, cut...


This big is felt I'm going to work with. 3x width of  package and 1 cm more to the lenght.


Rolled together. I curved edge, because it was too long, but you can also cut it off.


This is how it looks so far! x)


I marked end of the pocket...


...and sewed together.


Done! Let's turn it inside out.


As you can see, the upper part is a bit bigger.


So, I pinned the sides in...


...and sewed them.  If you can't do this stitch, follow the pictures:


I hope it's clear enough...


When it's done! What to do with curved edge? 


I found peace of dotted tulle.


Cut it in halves...


...gather together...


like this


...and glue it under edge.


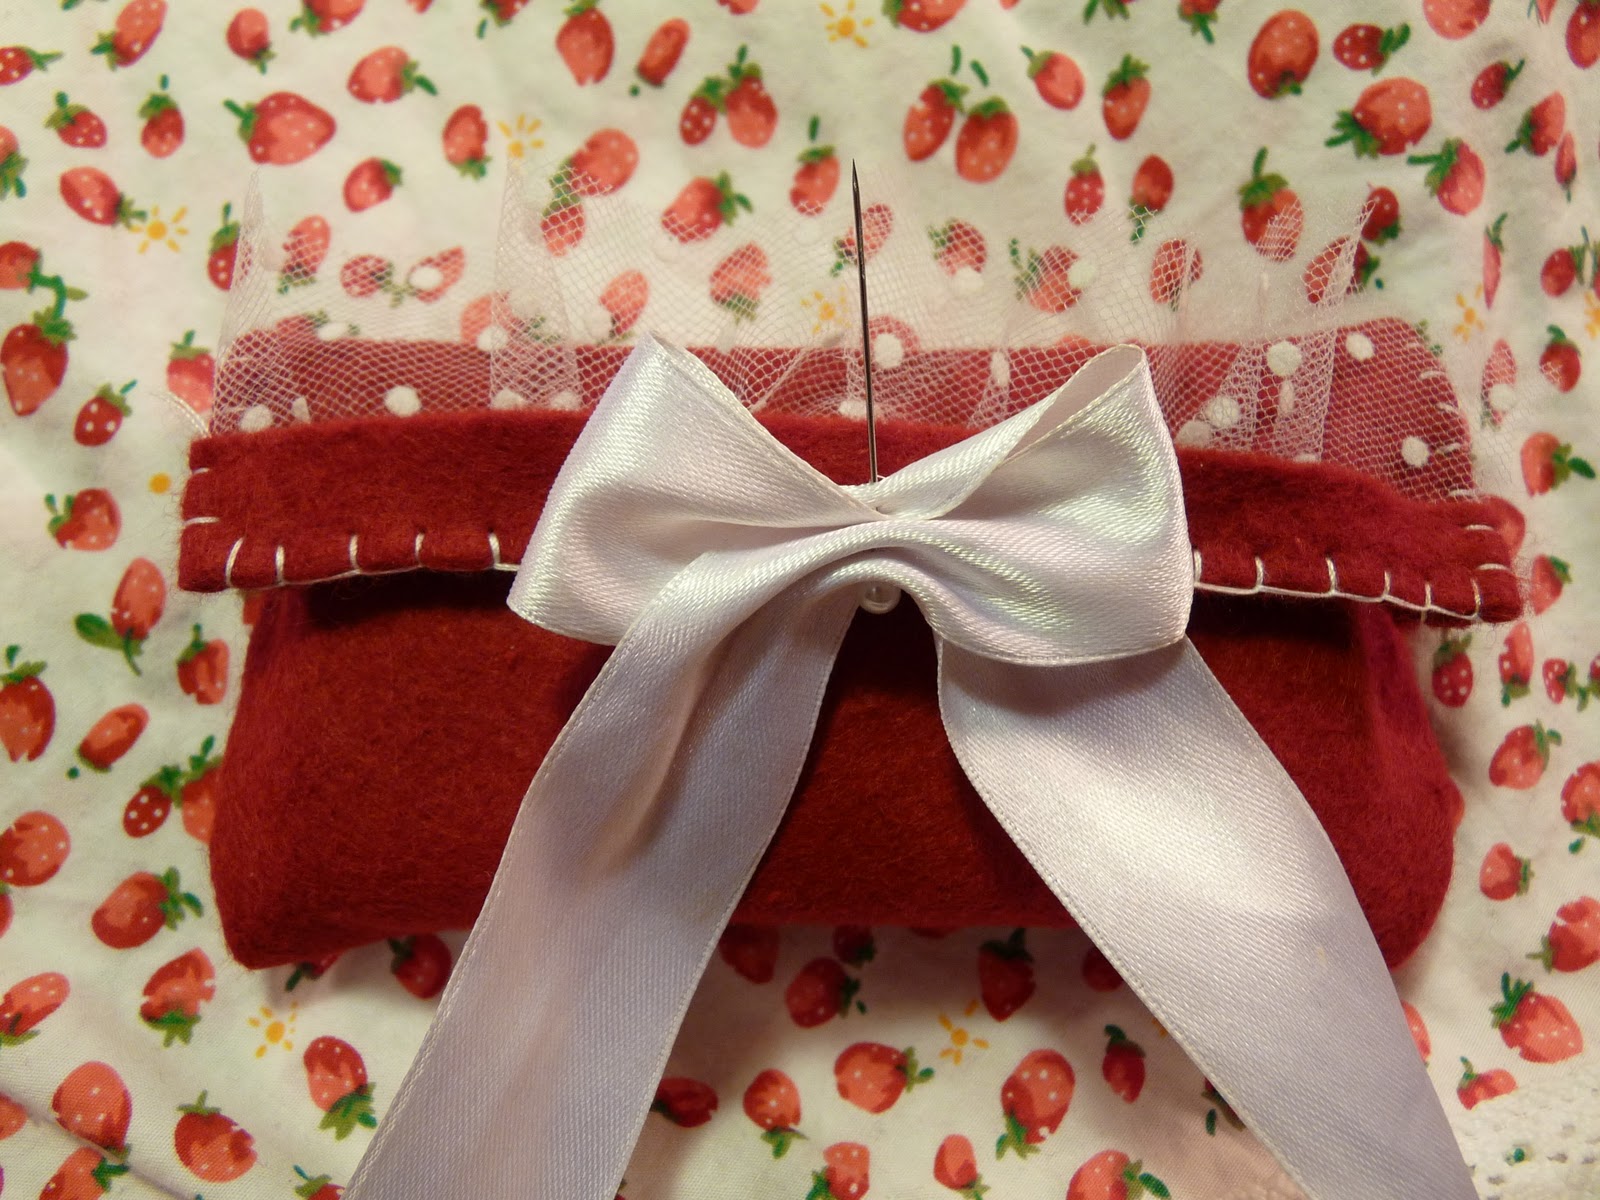
Tadaaa! You have a nice tulle ruffle. Now, let's decorate! There are so many options...


I like white pompoms most!


Let's glue them on!


Take some buttons or velcro...


...and glue them too.


On the backside, I decited to sew pearls.


It's a bit easier when you mark where you want pearl to be.


We're finally finished!


I hope you like final result ^^


Now, just enjoy your stylish sniffle!


Please tell me if you liked it, and if there are not too many pictures. I'm still only beginner bloger, so I'm learning with every new post. Thank you for reading! ^^